DownloadNX Client for Windows
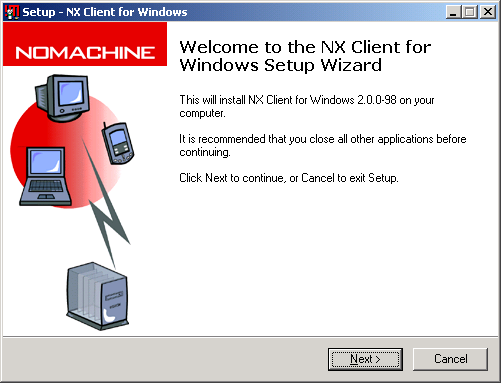
Install NX Client on Windows
Run NX Connection Wizard
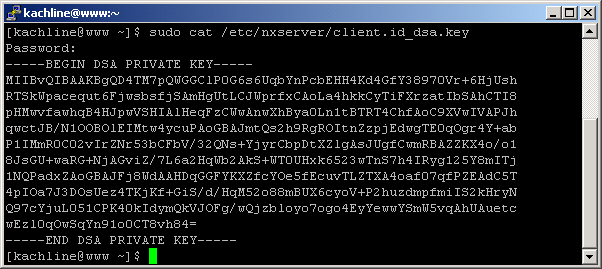
Using PuTTy, login to your NX Server, and "cat" the file /etc/nxserver/client.id_dsa.key. Minimize this window for now.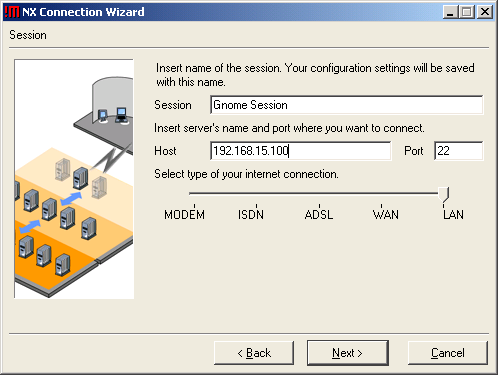
Enter a "name", hostname (of your Linux FreeNX Server), port and connection Speed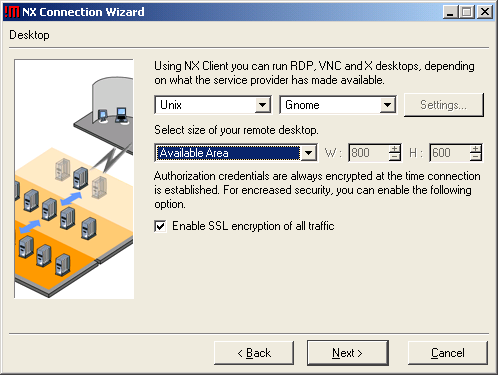
Select "Unix", "Gnome", "Available Area" and make sure "Enable SSL encryption" is checked.- Make sure to check "Show the Advanced Configuration Dialog

Click the "Key" Button for setting up your SSH Private Key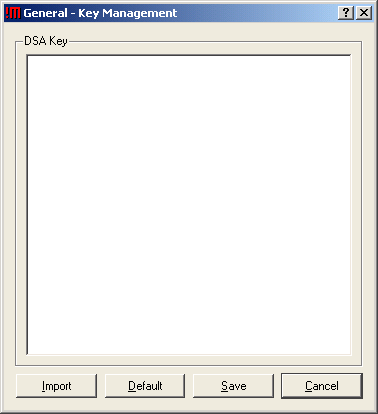
In the "Key Management" window, delete all of the current key's text.
In your PuTTy window, click and drag across the entire Private key text; this will "copy" to the clipboard.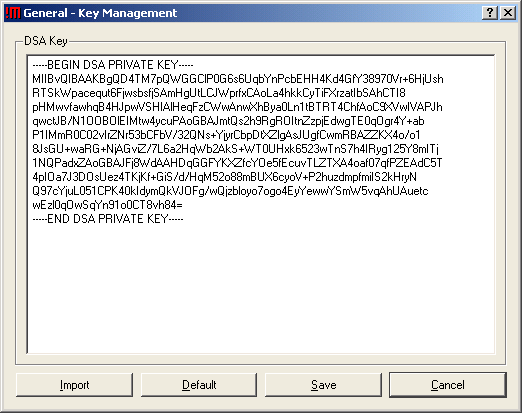
Now select the NX "Key Management" window and press "Control-V". This will "paste" your key (copied from PuTTy window) into the "Key Management" Window. Once done, the key text in your "PuTTY" window, and "NX Key Management" window should match.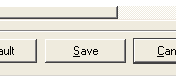
Click the "Save" button in the NX "Key Management" Window
Click the "Save" button in the NX "Advanced Configuration" Window. The "Save" button should grey out.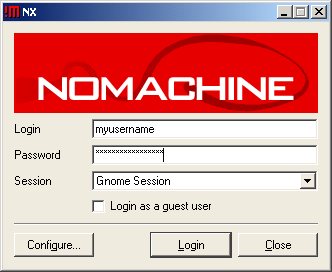
Login to FreeNX. Use the same username/password you would use to login to Gnome